Main Page
Welcome to Balto™[edit | edit source]
Introduction[edit | edit source]

This app will help you keep track of your training exercise details and generate the text for use in your training log forms. The database is stored locally on your iOS or Android device. No connection to the internet is required.
Several different types of logs are available depending on your needs and capabilities of your dog(s). These include Air Scent (Live Find), Human Remains Detection (HRD), Trailing, Articles, and GSAR (General Search and Rescue). In addition, a simple log for documenting search missions is also available.
The workflow is as follows: At the beginning of each training session, you open a new Mission. Each Mission contains one or more Exercises. Each Exercise has conditions such as the weather and environment. Set the conditions at the time you work the Exercise. Subsequent Exercises during the course of a single training session might have different conditions e.g. raining vs. not raining so you can adjust them as you go along. Each Exercise has a discipline log associated with it. Pick the discipline you are working on and then set the details of that discipline. For example, if you are working an HRD Exercise, you would specify things such as how the source is positioned and what type of source it is. You then work the exercise with your dog. When you complete the Exercise, you can enter information about you and your dog's performance along with notes for what went well and what you need to work on going forward. After you finish the Exercise, you can create additional Exercises. The software pre-populates the user interface with the previous Exercise's settings (which you can adjust as needed) to make the process faster. Finally, when you are finished the training for the day, you would close out the Mission.
Once you have a Mission with Exercises associated with it, you can review and edit the information. You might not have some piece of information at the time you worked the Exercise. For example, if you are working a blind HRD problem, the person who put the source out would know when it was placed, where it was placed, and the type of source but since it's blind, you would only get this information later.
When the logged information is complete, you can export the information to the mobile device's clipboard which you can then paste into whatever app or document form you use for long-term log keeping. For example, you could paste the log text into an email or a PDF form.
Getting started[edit | edit source]
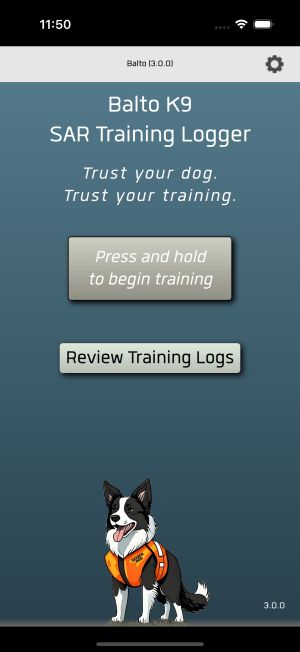
You'll need to set the Handler Name to your name in order for the system to automatically fill this in to each Mission. You'll also need to add a dog to the Canine list. You can also have a list of often used training locations. This information becomes available in the associated popup menus. This information can be accessed by tapping on the gear icon in the upper right corner of the screen.
 |
 |
 |
|---|
Entering Missions and Exercises[edit | edit source]

 |
 |
 |
|---|
The view on the left shows the Mission setup screen. In here, you set a mission number which is usually a tracking number issued by the agency overseeing Search & Rescue operations in your area. Any unofficial training can be indicated by clicking the Unofficial button. This button simply replaces the text in the edit box with the word "Unofficial". Internally, this field is plain text and anything can go in there.
In the Training Location section, the popup menu presents a list of your usual locations set up in the Locations Editor. Again, picking a choice from that menu simply inserts the text into the edit box. Clicking the GPS button will insert your current location in UTM format.
The Log-in Date/Time can be quickly filled in with the current time and date by clicking the Now button. The same applies to the Log-out edit box. Note, when you end the training for the day by clicking the button at the bottom of this screen, the time and date of the Log-out edit box will be updated to the current time and date.
Clicking the "Start a new exercise" button will bring up the Exercise Setup screen. Here you can set the overall information about the exercise such as the dog you were working, any human flankers who were with you, and the weather/environment/terrain conditions. At the bottom is a popup menu where you select the discipline you will be working on. Clicking the "Set discipline details" button will bring up one of several screens. Note that these discipline screens are all scrolling views to accommodate all the information and lets you fill in information as you get it easily.

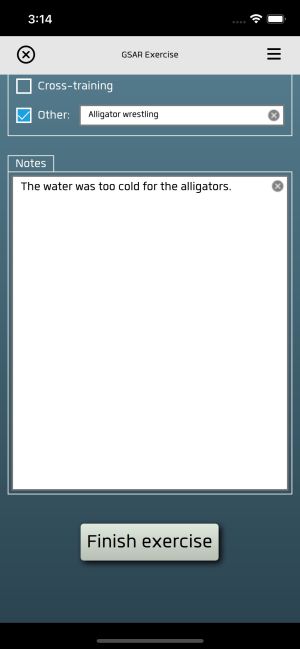
Important: By scrolling all the way to the bottom, you will see a Finish button. You must click this button to complete the exercise and save it in the database. If you click the circle-X in the upper left corner, you will cancel this discipline and it won't be saved. This allows you to undo adding an incorrectly chosen discipline.
Training Disciplines[edit | edit source]
Each discipline has its own set of editing screens.
Air Scent[edit | edit source]
Here are the Air Scent screens:
 |
 |
HRD[edit | edit source]
Here are the HRD screens:
 |
 |
Trailing[edit | edit source]
Here are the Trailing screens:
 |
 |
 |
GSAR (General Search & Rescue)[edit | edit source]
Here are the GSAR screens:
 |
 |
Articles[edit | edit source]
Here are the screens for Article work
 |
 |
 |
From the Gear Menu in the upper right corner, you can access the Article editor which modifies the choices available in the Specific Articles popup menu.
 |
Search Log[edit | edit source]
Here are the screens for a Search Log
 |
 |
 |
Reviewing and Editing[edit | edit source]
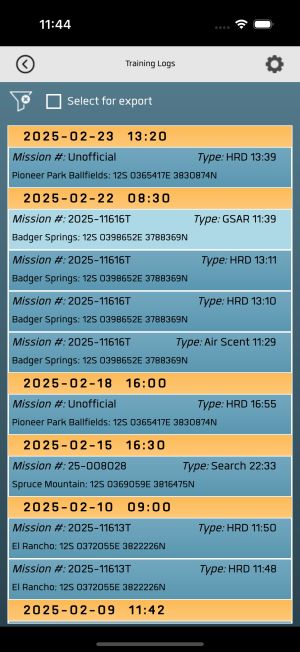
Once you have Missions and Exercises recorded in the database, you can review and edit them as needed. By clicking on the Review button from the main screen, you will see a list of all of the Exercises, sorted by the date/time set in the Mission screen. To edit an exercise, double-tap on the desired item in the list.
 |
 |
To delete an exercise, swipe left on the item in the list you wish to delete and tap the trash can button to confirm. Note, when there are no more exercises for a given Mission, that Mission record is also deleted.
If you need to add an exercise to a Mission after the Mission has been closed, you can do so by tapping and holding on any of the other exercises in that Mission.
Exporting Information[edit | edit source]
To generate and export logs as a block of text for use in log forms, you first bring up the Review screen. From there you can select specific logs to export by checking the Select for export in the upper left corner. This presents check boxes for all of the exercises in the list. Check the logs you want to export and click the Export Logs button. The app will notify you that the clipboard now contains the log text.
 |
 |
|---|
You can also select a date range by clicking on the Filter icon button in the upper left corner. This will bring up the filter screen.
From here, you can specify a date range of logs and show them in the Review list or automatically export them to the clipboard.
 |
 |
|---|
Logs are exported in Rich-Text Format (RTF). You can paste that information into any app that supports RTF such as Microsoft Word.
If you are using an iPhone and a Mac computer, the phone's clipboard is automatically shared (via iCloud) to your Mac. Once on your Mac, you can paste the information into Word or other editor. Some editors don't retain the formatting by default so you may have to specifically choose a Paste command from the Edit menu. It may be handy to create a template document in Word that has a useful header and footer for a signature line or a unit insignia as a watermark. The paste operation will automatically add new pages as needed with the header/footer/watermark on each page.
Statistics[edit | edit source]
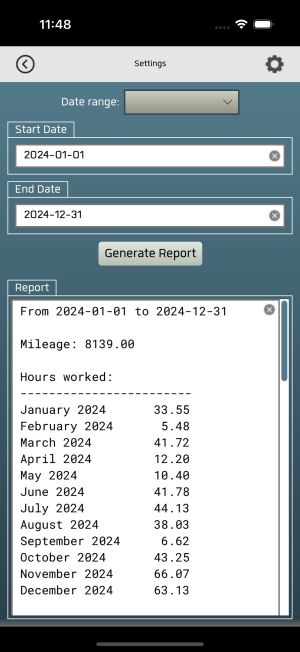
Each Mission has an edit box for entering the number of miles you traveled as well as the start and end times. You can have the app generate a report that includes the mileage, the number of hours worked, and the number of exercises for each log type in the specified date range. Note: the app expects dates and times to be in ISO8601 format (YYYY-MM-DD hh:mm:ss). If you entered dates by hand and use a different format, the calculation won't work.
